.png?1677767993 "MikeSPORT")
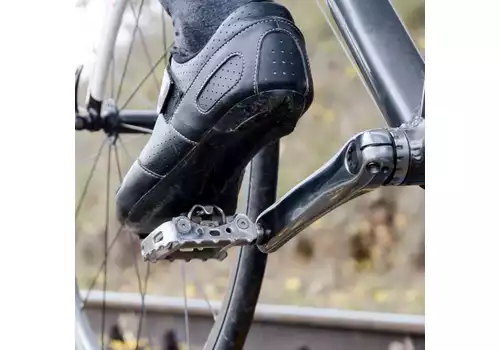
How to properly install cleats in cycling shoes?
The purchase of bicycle shoes and clipless pedals is an issue that is directly related to the proper screwing of the cycling blocks to the shoes. It is worth remembering that improper assembly of the bicycle blocks may result in knee pain, problems with the hips and ankles.
We advise what blocks for cycling shoes to choose and how to properly install them.
Which cycling shoe cleats should you choose?
Bike blocks should be compatible with cycling shoes. They are always included in the set with clipless pedals. Therefore, when choosing whether it is cycling shoes or pedals, you should take into account the fit of both.
Manufacturers provide clipless pedals with cleats that are compatible with their range of cycling shoes. Bicycle blocks can also be purchased separately.
Each brand that offers clipless pedals also offers cycling blocks dedicated to them. Depending on the manufacturer selected, such blocks may have different degrees of clearance and, therefore, different colors. When selecting blocks, however, their color should not be taken into account in terms of aesthetics, but its parameters specified in the product specification.
Color of cleats for cycling shoes and degrees of working slack
As already mentioned, the bicycle blocks may vary in color and thus the degree of the running clearance. It may be, inter alia, zero clearance, two-stage, four-stage or six-stage. Specialists recommend the use of blocks that provide working clearance.
No working clearance - dedicated to professionals who will carry out a professional bike fitting. Failure to fit them properly can cause overstrain and pain in the knees, as the rotation capacity of the knee is disrupted during the pedaling cycle. In one hour of cycling, the cyclist performs thousands of flexion and extension movements, accompanied by rotation.
Whenever you are cycling, the heel performs a minimum of rotation - in and out. Therefore, for amateurs and greater ride comfort, it is recommended to choose cycling blocks that have a degree of working clearance. For people with knee problems, it is recommended to choose a larger working clearance.
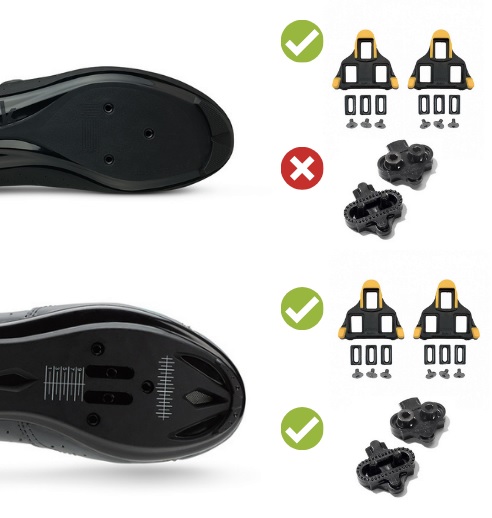
Bicycle blocks are also selected according to their intended use - different will be for road shoes, and different for MTB shoes. Below we present two popular models of bicycle blocks.
MTB CLEATS
Shimano SH51 cleats for cycling shoes
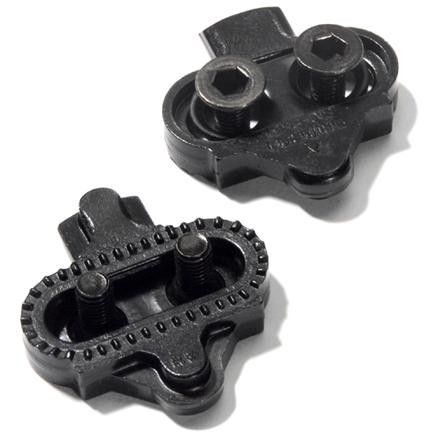 |
Shimano SM-SH51 cleats are made of durable black steel. The degree of lateral play on this model is +/- 2 degrees.
Cleats allow one-way release of the shoe. They release when the heel is pushed to the side. They are mounted with two screws. Suitable for most Shimano clipless pedals - both touring and MTB. They are compatible with Click'R.
Shimano SM-SH56 cleats for cycling shoes
Shimano SH56 are made of durable steel in silver. The main difference between the Shimano SH51 and SH56 cleats is the way they are released. Shimano SH56 offers the possibility of multi-directional shoe release. Footwear can be released from the pedals, not only by moving the heel outwards, but also in other directions. The lateral play of this model is +/- 4 degrees.
Mounting with two screws. Compatible with most Shimano clipless pedal models and the Shimano SPD system. SH56 are blocks recommended for novice users.
|
|
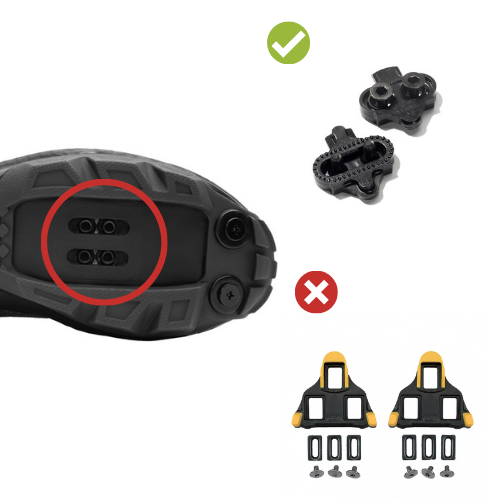
MTB shoes - usually have 4 holes located next to each other.
Road cleats
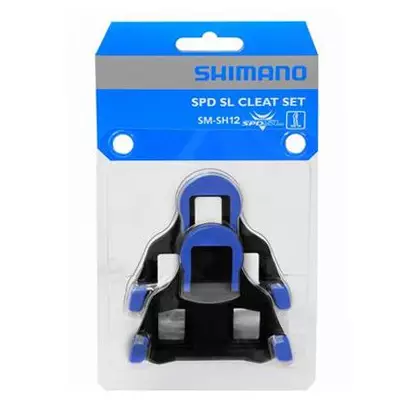
Road cleats Shimano SM-SH10 (red) or SM-SH11 (yellow), or maybe SM-SH12 (blue) what to choose?
|
|
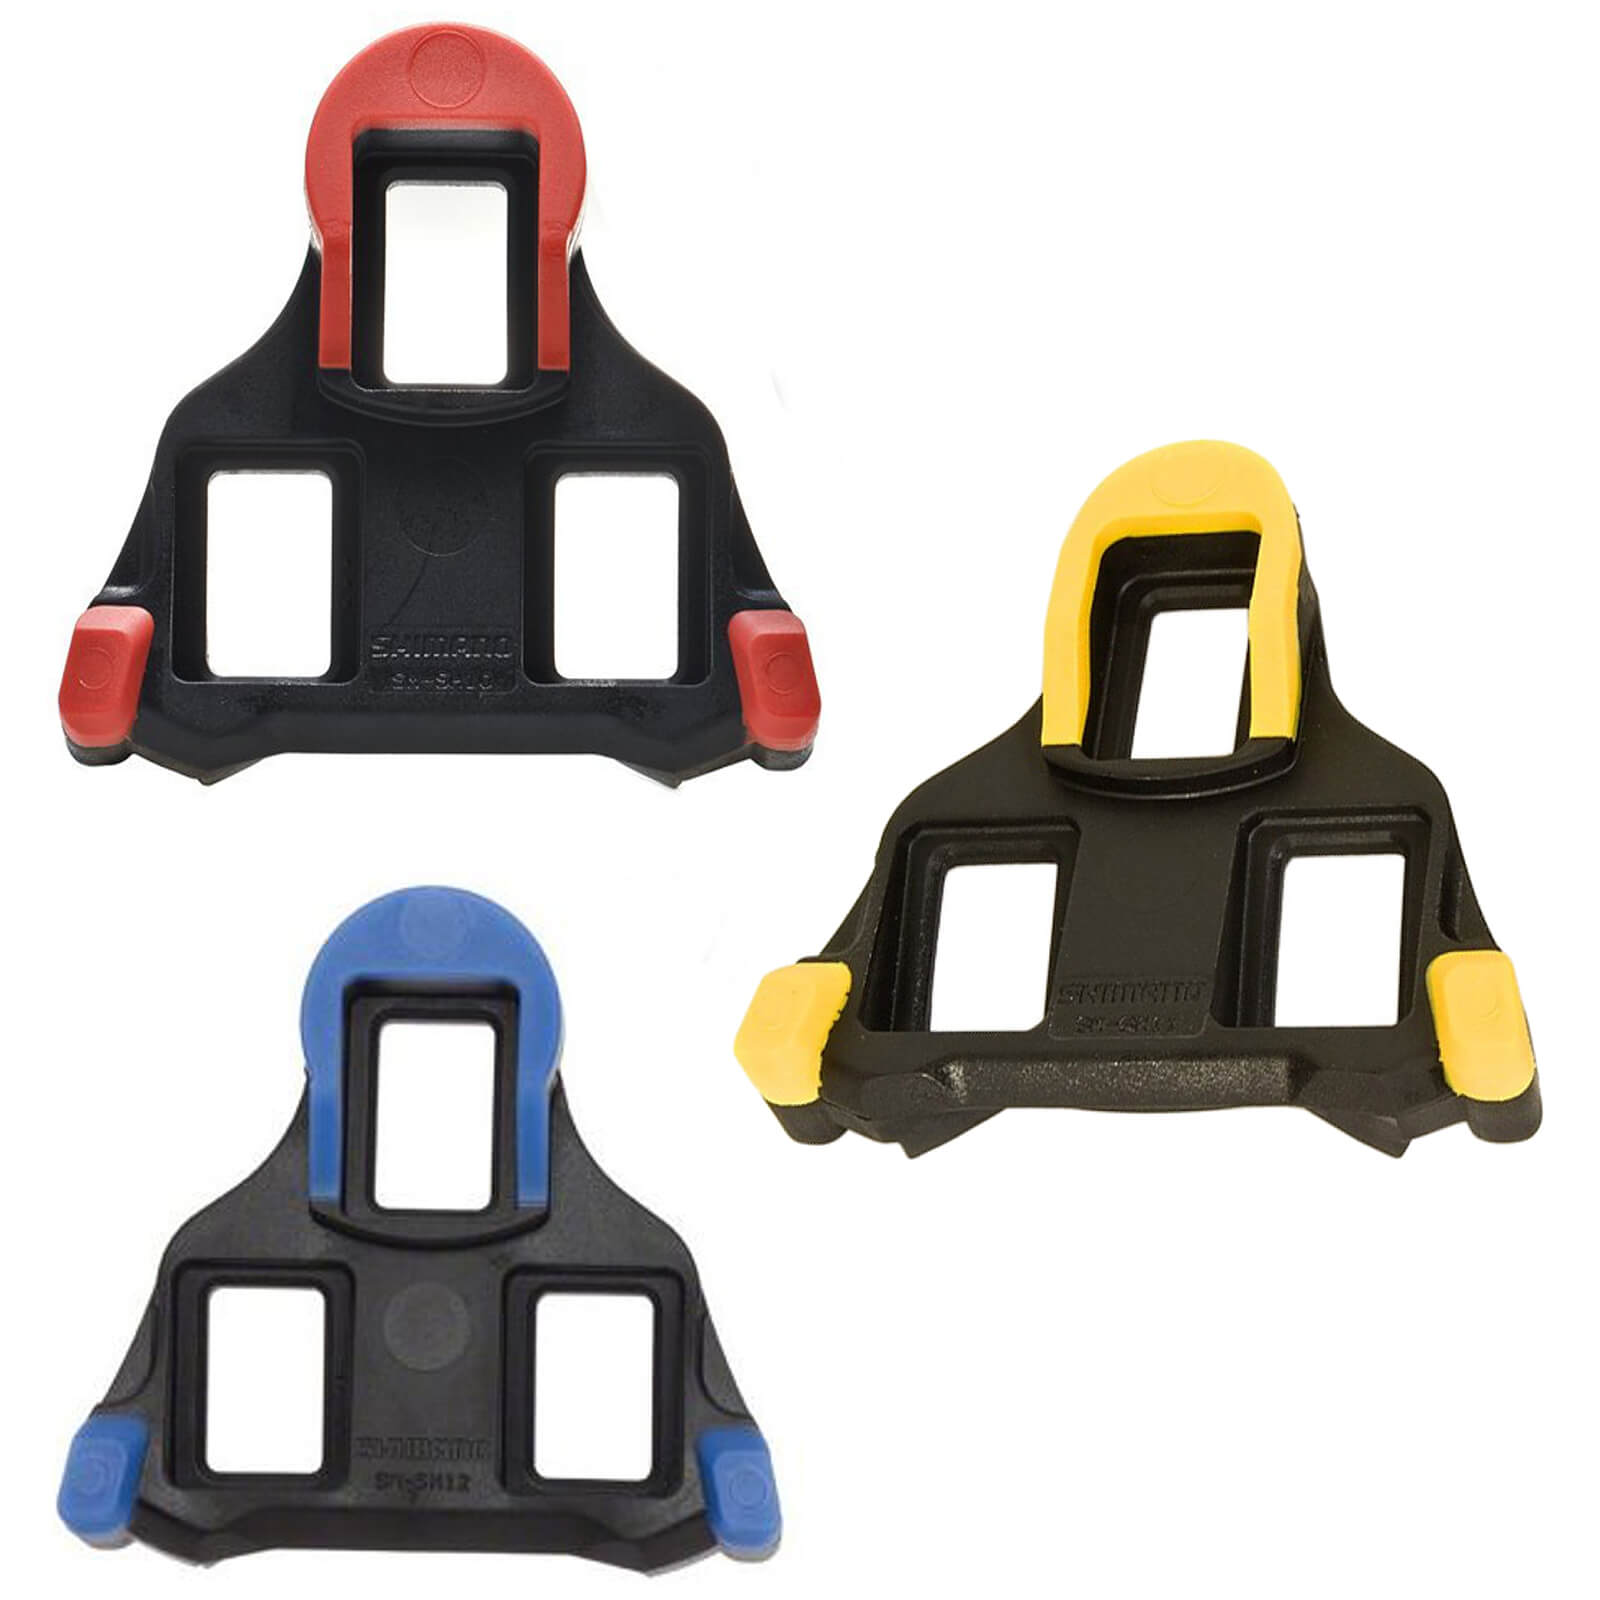
Standard road cleats, which we always get with Shimano road pedals, are yellow, i.e. with the greatest working clearance / foot movement range +/- 3 degrees (6 ° total). We recommend it to everyone and amateurs who start their ride in clasp shoes as well as for those taking part in competitions.
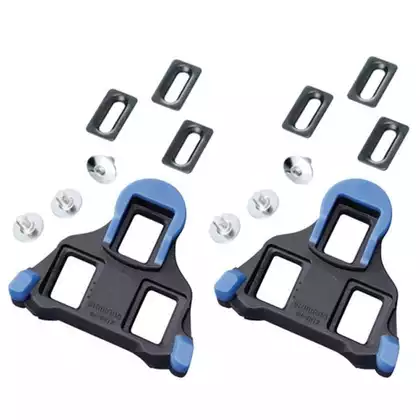
The other two colors are dedicated to advanced cyclists who know what bikefitting is. Blue blocks are two stages with +/- 1 degree running clearance (2 ° total) and red blocks have no running clearance.
|
|
How to correctly position the cleats in your cycling shoes?
Correct positioning of blocks in cycling shoes requires that this element be correlated on three planes:
- front-rear cycling block setting,
- setting the offset of the cycling block relative to the crank arm,
- heel block rotation setting.
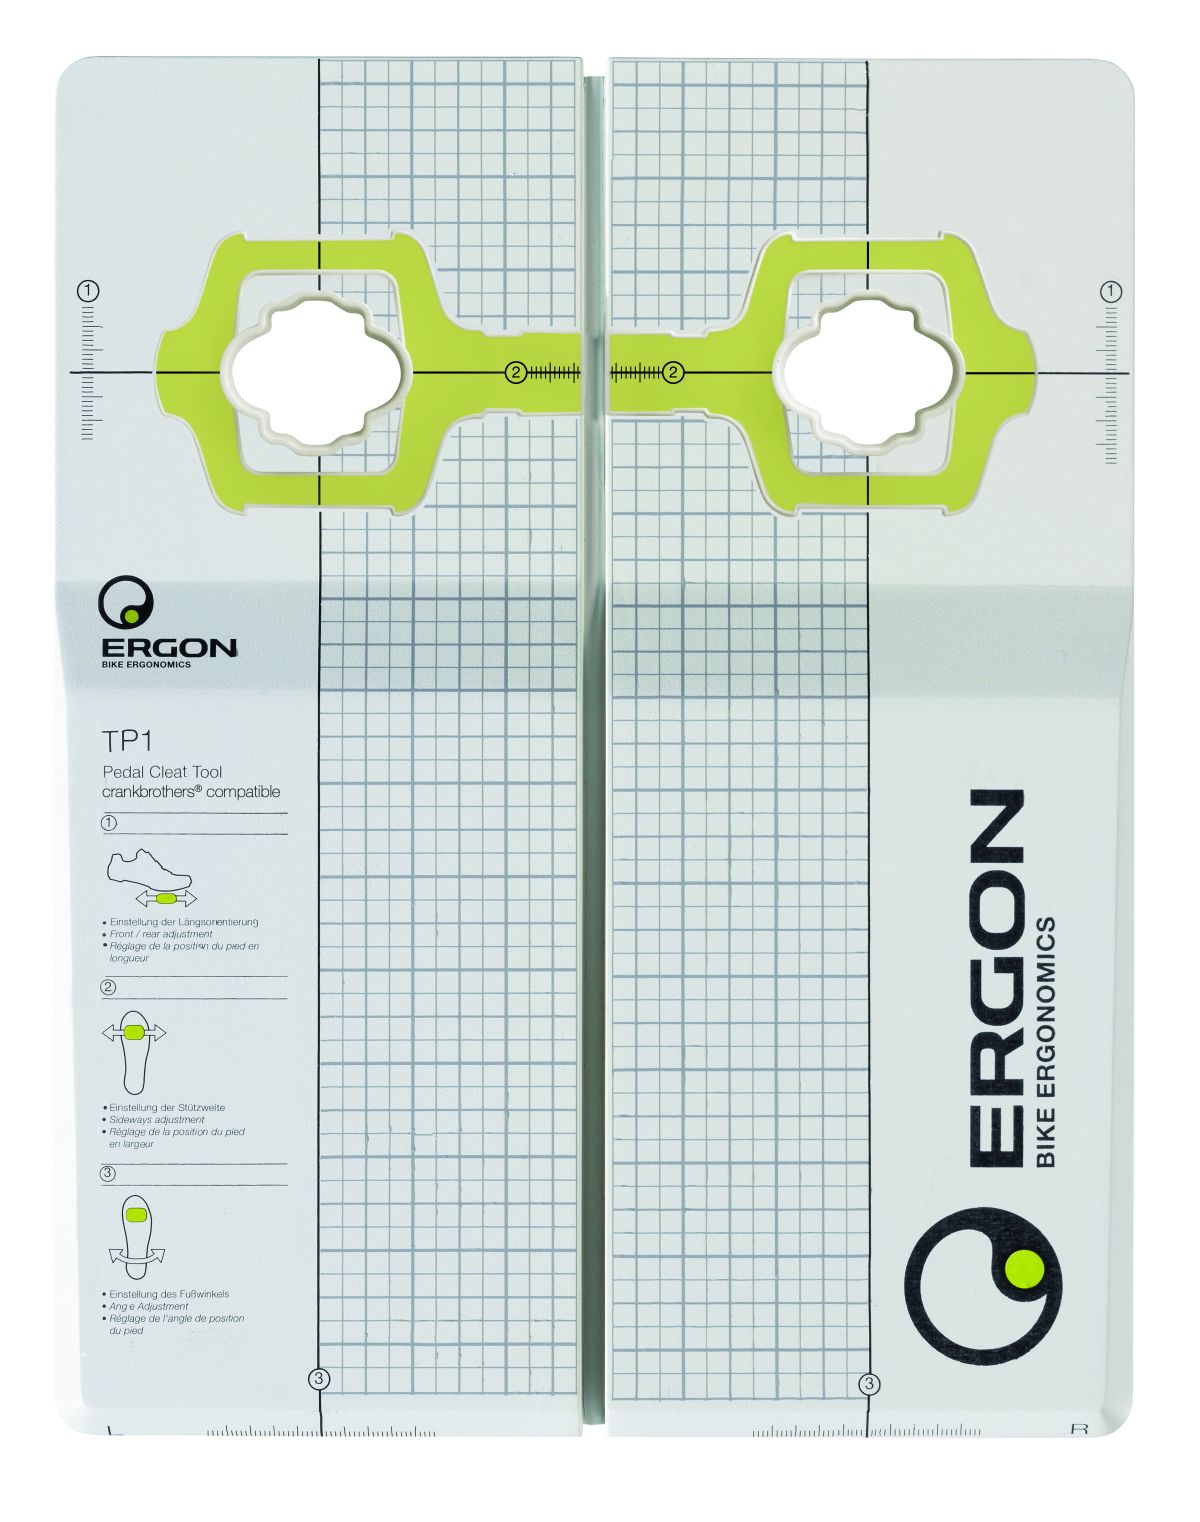
It's best to get a template for setting blocks that will allow you to set up blocks professionally in a short time
|
|
How to set the front-rear cycling block?
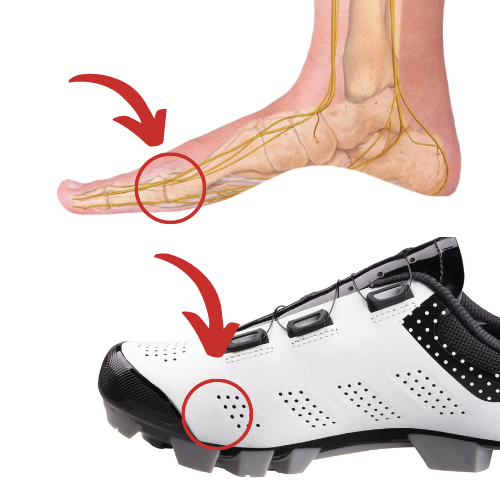
Positioning the bike block should start from the front-back plane. This setting should be compatible with the anatomy of the foot.
The first step is to find the bony prominence that lies between the metatarsal bone and the proximal phalanx bone. It is commonly called a hallux or a toe. You only need two thumbs or index fingers to feel such bone prominence. After finding it, mark a vertical trace in its place with a pen or marker.
Then a small piece of rolled insulating tape is glued to the foot with a tape - in the place where you previously marked it with a pen. Then put on a sock and put your foot in the cycling shoe, because the block is to be attached.
After placing your foot in the cycling shoe, you can easily feel the rolled roll of the tape through its material. Stick a piece of electrical tape over the shoe in this area. Then mark the place on it where you can feel the rolled roll of tape. This is how the metatarsophalangeal joint is marked.
Manufacturers mark the middle of each block. Usually it is a sharp vertical line. In typical MTB blocks, the center of the block is considered to be exactly in the center of the Allen bolt holes. However, the center of the block should not be located directly in the designated course of the metatarsophalangeal joint, approximately 8-10 mm back (towards the heel), i.e. in the area of the plantar fascia.
|
|
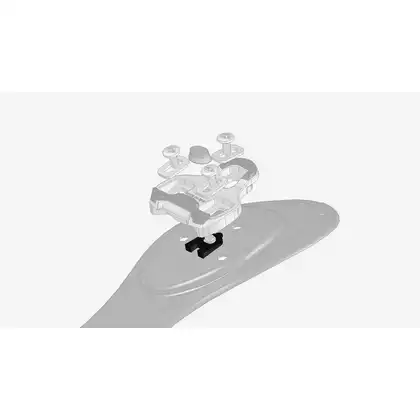
How do I set the offset of the cycling block relative to the crank arm?
The next step is to set the block offset relative to the crank arm. In this case, manufacturers usually leave little room for maneuver. Such a block can be moved sideways approx. 3-4 mm. Initially, it is recommended to set the offset to zero (in the middle).
It is best to set the target position of the block in this range while driving. Observe that your knee is not escaping in either direction as you pedal. In case of escaping inside (to the stock), move the block to the outside (bring the shoe closer to the stock's shoulder). On the other hand, if the knees run outwards (away from the stock), it is recommended to move the block inwards (move the shoe away from the stock's shoulder).
How to set a cycling block and heel block rotation
The last thing to set up is the rotation of the heel block in or out. In this case, block producers have left much more room for maneuver. This regulation is extremely important from the point of view of ensuring adequate safety for the work of the knee joint.
Special block arrangement templates can be helpful in this case. It is a stand equipped with a net, thanks to which it is possible to accurately determine the rotation in the shoe. How to use such a template? Attach the block with the shoe to the place marked on the template. It is recommended to position the foot in such a way that it is gently toes out and heel inwards.
At home, you can use the edge of a table or chair. Place the cleat vertically against the edge, hold it in place, and then rotate the heel into the desired position. This can be a bit more difficult than using a special template.
How do I check if the rotation is properly set? While riding the bike, you should not feel any tension or overload in the area of the knee joint. Proper rotation allows the foot to move freely.
Installing cleats in cycling shoes - what else should you remember?
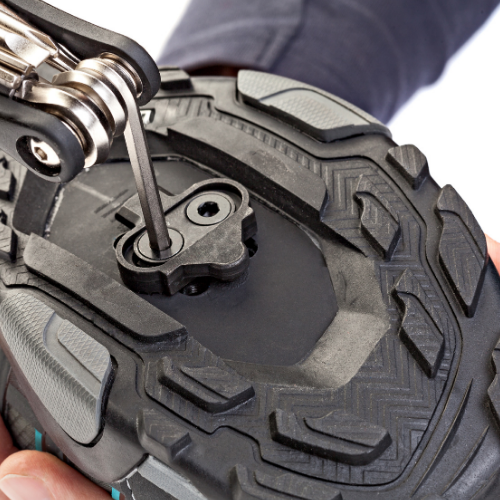
After the blocks in the cycling shoes are correlated in the three planes described above, the bolts should be tightened. Before that happens, however, it is recommended to lubricate the bolts and then tighten them. Skipping this step may result in unscrewing them later. In addition, gradual screwing is recommended. Screw in both bolts symmetrically - turn left bolt, turn right bolt, etc. For blocks with more than one bolt (eg 4) it is recommended to perform the sequence of tightening crosswise.
After you ride the bicycle for the first time, check that the bolts have not loosened while pedaling. It is also a good idea to regularly check that they are still tightened from time to time. It is also worth carrying a handy wrench with you, which, if the bolt loosens while driving, will allow it to be tightened at any time.
If you experience knee pain, it is recommended that you verify that the cleats are properly positioned. Sometimes it can also be caused by improper saddle adjustment. After purchasing new shoes and pedals and installing cleats, your riding position may change slightly, which may also require adjusting the height of the saddle.
It should also not be forgotten that the cleats of the clipless pedals wear out with use. Some slower, some faster, but each model wears out. Therefore, it is important to replace old blocks with new ones. Wear is manifested, inter alia, in problems with plugging in or out, accidental detachments and wobbling of the foot in place.
Now you know what to look for in order to properly install the cleats for your cycling shoes. Following these rules will allow you to enjoy cycling and avoid unpleasant pain in the knees.
|
|
-420x420.webp)
-420x420.webp)

-420x420.webp)
